Architectrual and Landscape

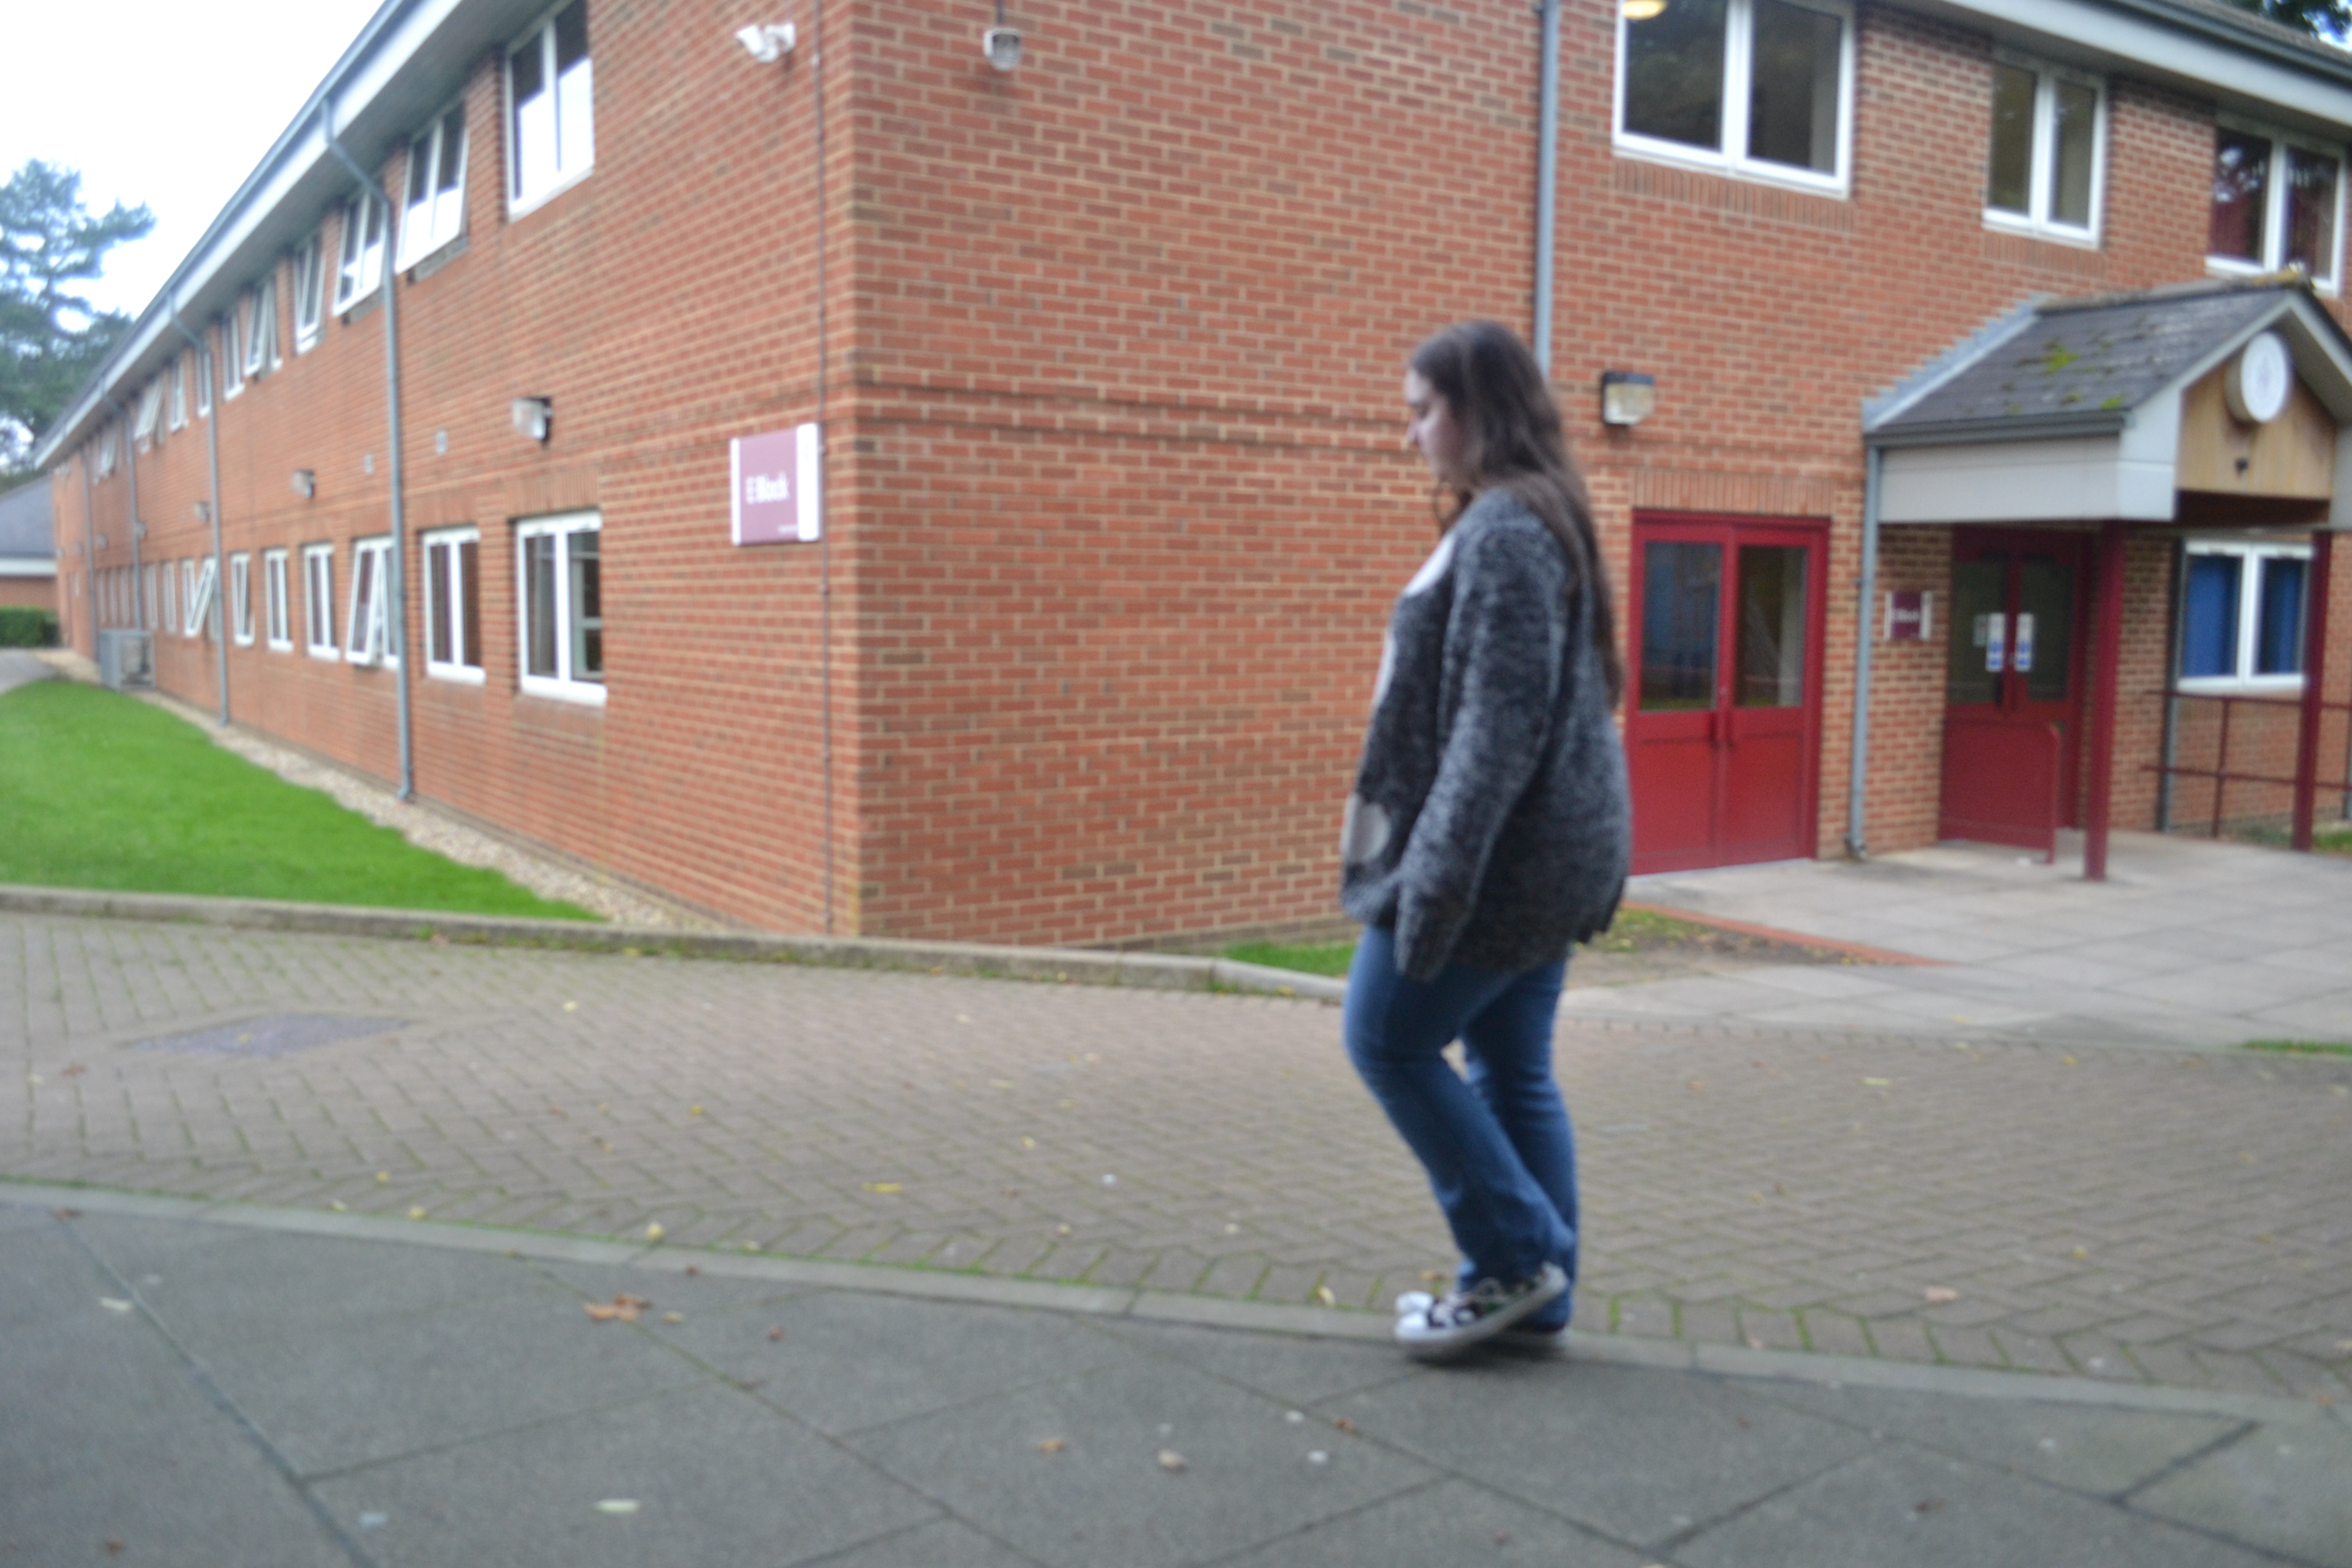
Architectrual is the photographing of buildings and similar structures that are both aesthetically pleasing and accurate representations of their subjects.

architecture_photography_13

  • A tenet of architectural photography is the use of controlled perspective, with an emphasis on vertical lines that are non-converging (parallel). This is achieved by positioning the focal plane of the camera at so that it is perpendicular to the ground, regardless of the elevation of the camera eye. This result can be achieved by the use of view cameras, tilt/shift lenses, or post-processing.
  • View cameras have been used for architectural photography as they allow for the lens to be tilted or shifted relative to the film plane. This allows for control of perspective, as well as a variety of creative possibilities
  • In a similar fashion to landscape photography, a deep depth of field is usually employed so that both the foreground and background (to infinity) are in sharp focus.
  • More recently, digital single lens reflex (DSLR) cameras have been used in the field of architectural photography. These cameras also employ detachable, tilt-shift lenses of varying (usually fixed) focal lengths.


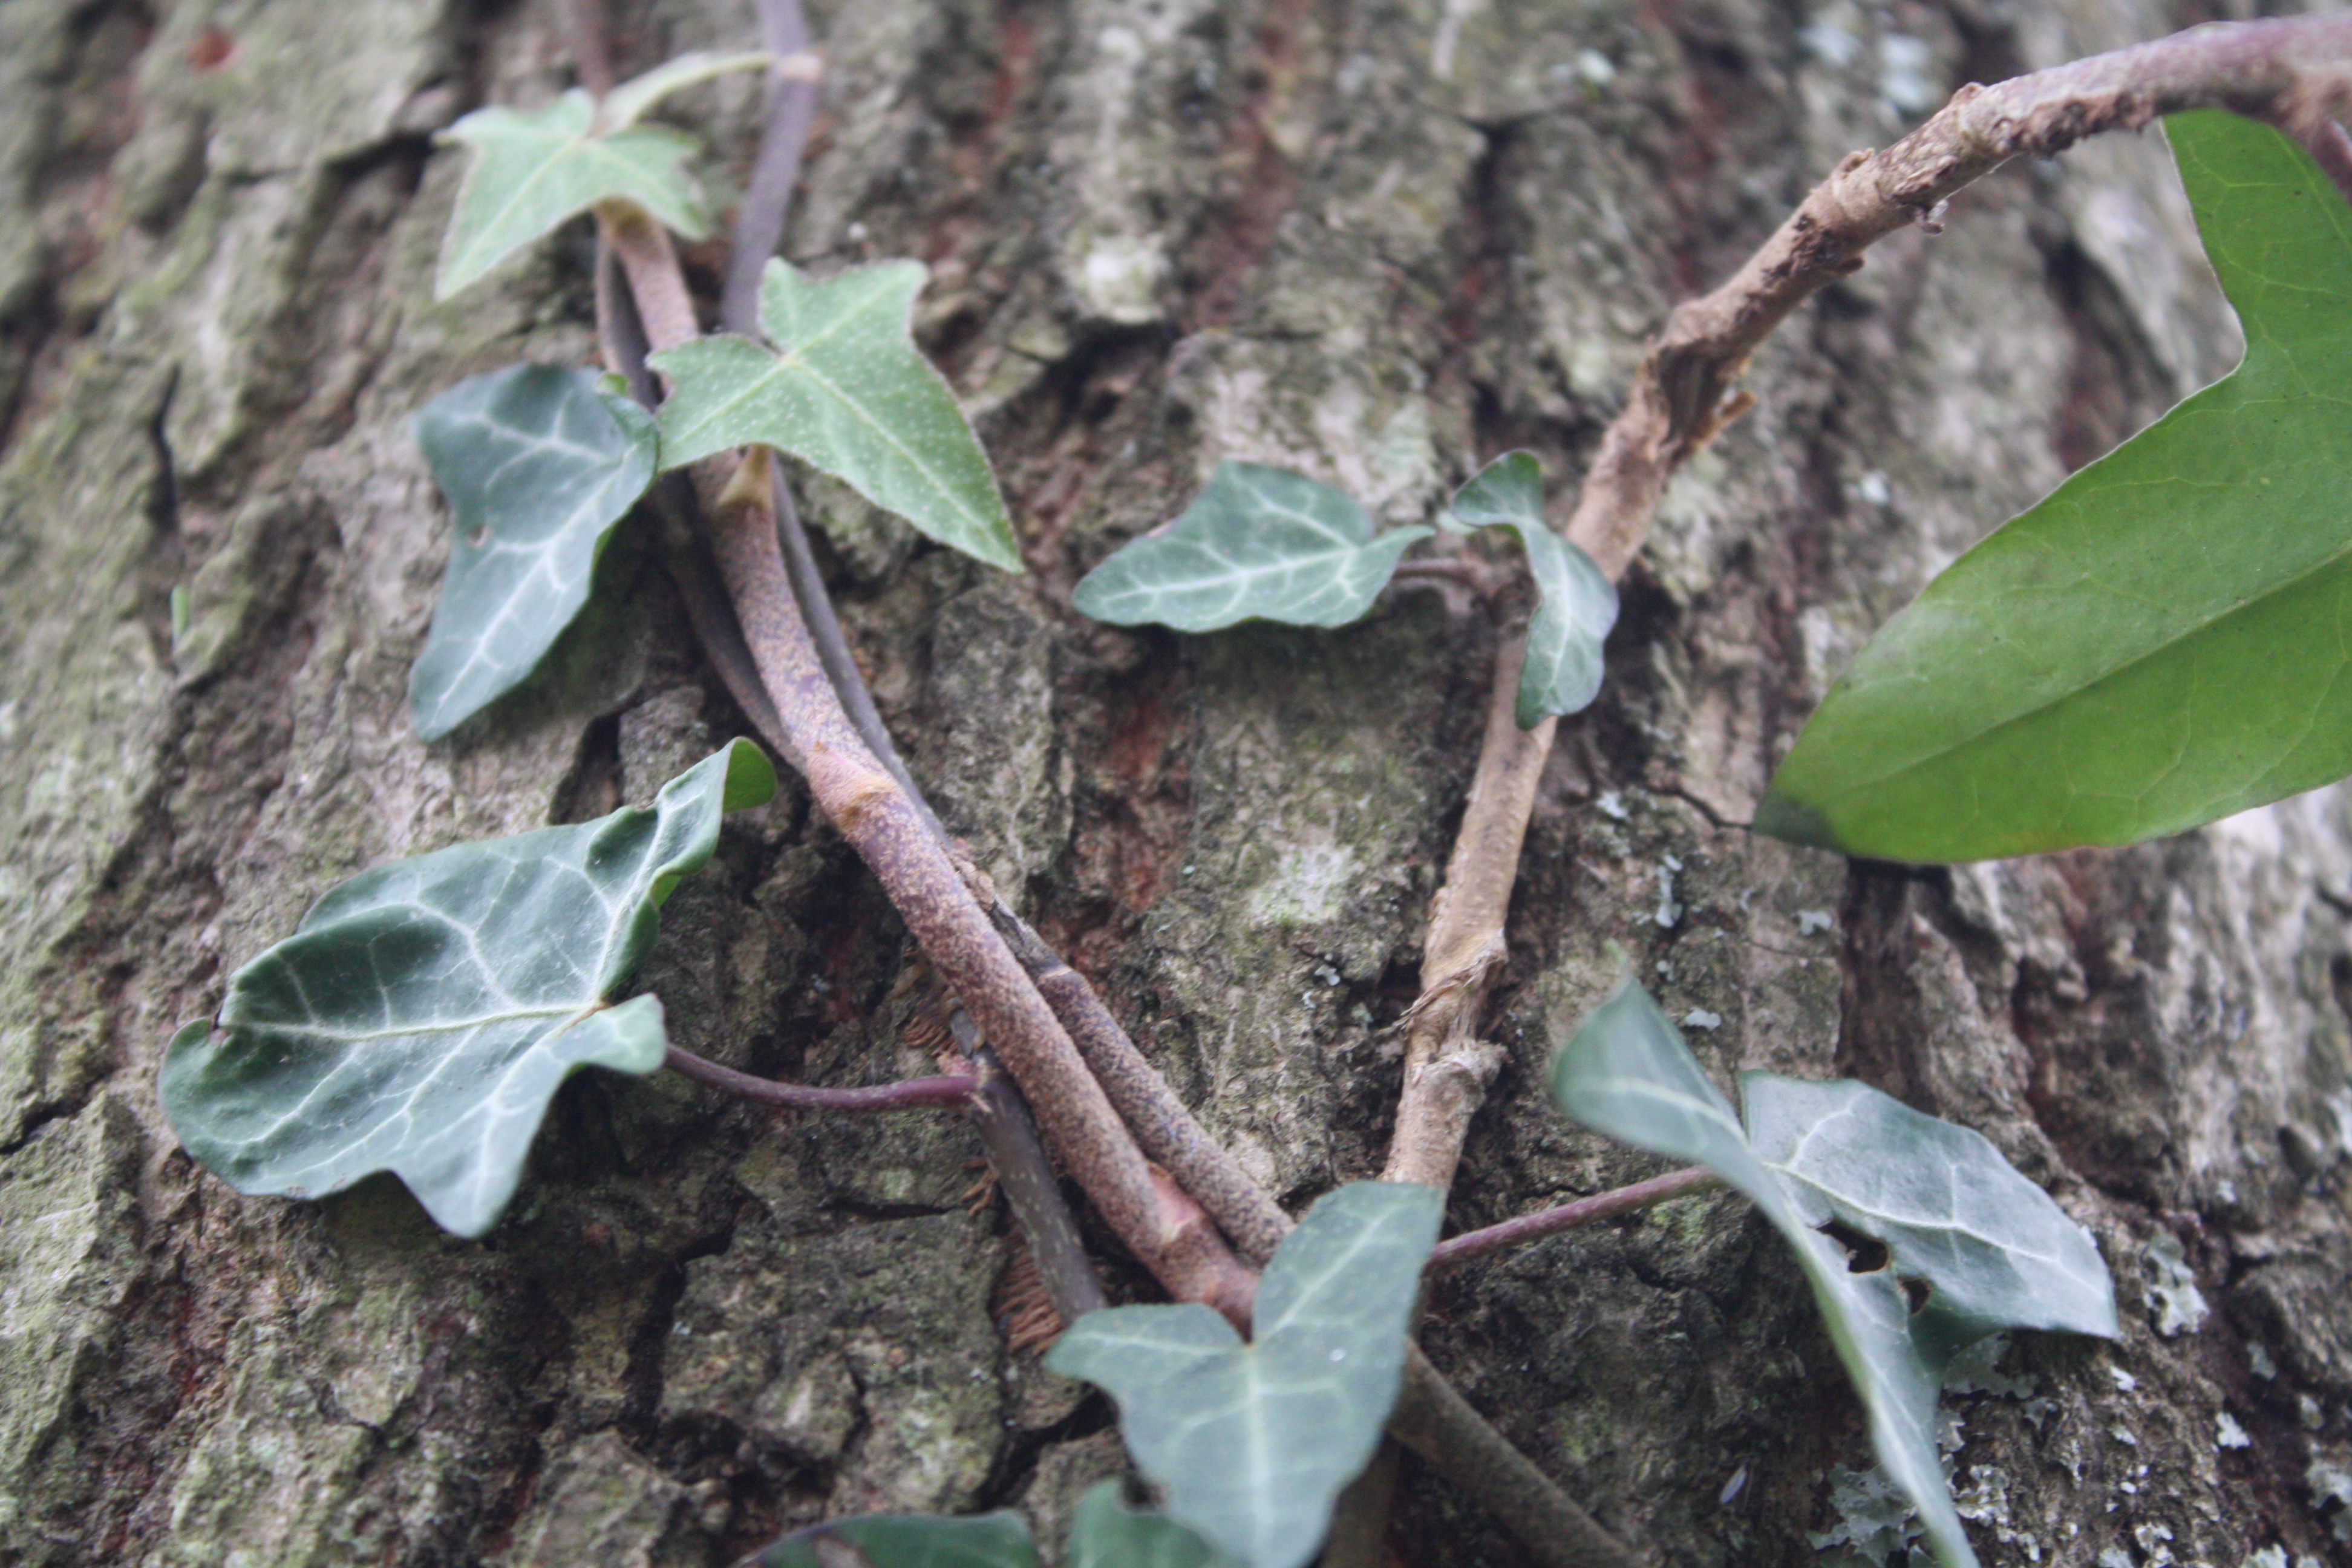
Landscape photography shows spaces within the world, sometimes vast and unending, but other times microscopic. Photographs typically capture the presence of nature but can also focus on man-made features or disturbances of landscapes.

Header22-840x472

Many landscape photographs show little or no human activity and are created in the pursuit of a pure, unsullied depiction of nature devoid of human influence, instead featuring subjects such as strongly defined landforms, weather, and ambient light. As with most forms of art, the definition of a landscape photograph is broad, and may include urban settings, industrial areas, and nature photography. Notable landscape photographers include Ansel Adams, Galen Rowell, Edward Weston, Ben Heine and Mark Gray.

My brock 100 photos

I used a low key light for these photographs with a light shining onto half of their face.

IMG_5102

This is probably my favourite photograph taken in this shoot. With the relaxed pose and the position the light is hitting him, makes the image look like it is paying homage to the Hunger Game posters. I like that how his shirt looks between the light and dark, with the dark shirt and the unusual pattern; it pulls more detail and highlighting every curve of his shirt. His postion fits into the rule of thirds as he isn’t in the centre of the image. His relaxed facial structure also gives the image a nicer feel to it, making it more welcoming to the viewer. The only problem is that I managed to get the top of the Colourama in the background, it could be easily photoshopped out. This was probably caused by the fact that all the models are ALOT taller then me.


IMG_5101

This one also worked well, but I do have my problems with it. Since he wore bright colours, he is more clearer in this photo then the one above. Also the soft box in the reflection in his glasses, with pulls away from the overall look of the image. However this image has alot more detail then the one above, it is clearer to see the folds of his shirt and the shape of his hair. Once again, top of the Colourama is visualbe in the background. Me being short can’t be helped.


IMG_5106

This one didn’t go to well. The background is too visable in the image so it pulls focus from the model. I asked to have her look away from the light to see how it would look. Personally, I think how the light is hitting her face, makes it look like a homage to Picasso’s paintings. The unusual look makes it look unique and quite different. With the mixture of different colours and texture of her clothes effects the shadows on her. Like the shadow on her leggings expands across the leg when her shirt looks sharper.

IMG_9993

Unfortunately, this photography is blurred/ out of focus. You can still see her but the photography isn’t sharp enough, it also makes her look soft which however, the softness works well with her hair and it add volume to it.

IMG_6681

This photography is good, if it wasn’t so light. I must of have the aperture to wide. The photo is still sharp with the edges and shadows but she looks pale. This photography also fits into the rule of thirds.

Studio equirment

Light meter

light meter is a device used to measure the amount of light in a photography. It is to determine the proper exposure for a photograph, which allows the photographer to determine which shutter speed and F-number they need to set for the right exposure. For photography, it is ideal to use a handheld light meter so you can get closer to the object or scene you are taking a photo off (Just be careful, because if you hit it; you may lose it by it breaking or they might be annoyed that you hit them in the face and walking off while flipping off the bird)

Image

Reflecter

a reflector is an improvised or specialised reflective surface used to redirect light towards a given subject or scene. This can help make the focus of the photo more clear by reflecting light onto them, but be careful if you have a model because it go straight into their eyes.

Image

Barn doors

Barn doors are used in combination with fixed lights or strobes to focus the light and to avoid reflections. They are normally attached to lights seen around the stage at a theatre, to help focus on a part of a stage. They normally have 4 sides but there are some models with two, so check before you use.

Image

Soft box

A Soft box is a type of photographic lighting device, one of a number of photographic soft light devices. All the various soft light types create even and diffused light. This ‘bounces’ light off the second surface to diffuse the light. A “soft box” is an enclosure around a bulb comprising reflective side and back walls and a diffusing material at the front of the light. You could make one using aluminum foil

softbox-speedlight-cube-flash-mount-1

Gels

Gels are used to change the colour of the light source (AKA a lamp, it wouldn’t work very well if you’re light source is THE SUN)all you need to do it place a transparent sheet over the light and the light will shine through the light and be the colour of the sheet.

Gels

Colourama

A colourama is a sheet used as a background to help keep focus on the object or model. This can help pull focus onto your subject, also the colour backdrop can help add to the subject. Just make sure the colourama is flat as it can be picked up  in the photo. Also help your subject on, I remember tripping on it when I was young.

Colourama

Diffuser

A diffuser spreads the light from the flash, to spread around the area and make the photograph clear to see. This will help get rid of harsh light and dark areas. There are ideal for portraits to make it look more 3D.

Diffuser

Macro and the adventurage of the unfocused images

IMG_2069
The focus on the berry as the red stands out against the greed holly leafs. The photo does highlight some of the sharp edges of the leafs, the ones closer to the leans are out of focus and brings more focus on the berry.

IMG_2080(Best)
This image is a bit unusual as the focus was on the wed but the leaf is also pretty detailed; you are able to see all lines and marks clearly. The focus point is on where the leaf sits on the web. The web stands out brightly against the dull browns of the shed. This is my personal favourite taken that day.

IMG_2084(Best)
The focus point moved at the last second from the leaf at the bottom left hand side. However, I was surprised how detailed everything is, even the parts which are out of focus.


If anyone is wondering why I’ve called this page ‘that’, it’s because the photos you see here are from a forth attempt to get it right. The first three are so blurred and out of focus, you’ll never be able to guess what it was. One was a smashed acorn, but in the bad attempts; it looks like something which escaped from doctor who.

White balance and Noise


Noise in photos taken with digital cameras is random pixels scattered all over the photo. It is a similar effect as “grain” in film photography and it degrades the photo quality.

05-raw-vs-jpeg-noise-reduction-original

White balance (WB) is the process of removing unrealistic color casts, so that objects which appear white in person are rendered white in your photo. Proper camera white balance has to take into account the “color temperature” of a light source, which refers to the relative warmth or coolness of white light. Our eyes are very good at judging what is white under different light sources, but digital cameras often have great difficulty with auto white balance (AWB) — and can create unsightly blue, orange, or even green color casts. Understanding digital white balance can help you avoid these color casts, thereby improving your photos under a wider range of lighting conditions.

White-Balance-Example

Shutter speed

Stutter speed is how quick the camera sensor is exposed to the light. The smaller the aperture is exposed, the more motion blur will appear in the photo. Generally this is in fraction of seconds but it can be hours depending on the effect you are trying to achieve.

1/1000 1/500 1/250 1/125 1/60 1/30 1/10 1/4

Efffect of shutter speed

Between 1/1000 to 1/250 is freeze action. When you capture the image in movement; the image will be solid with no blurring.

Between 1/30 to 8, you’ll get motion blur. When you can see the movement of the main focus. A tripod is needed as you need to expose the camera sensor for a while and it could pick up your hand movement.

For bulb setting, You will need a remote control or intervatometer. the stutter speed will be 30 seconds or longer. You’ll need to doit; press it, lock it then stop it (Once you’re done)

For our images, I was the one who had to be moving so I walked. The photos aren’t that focused until we got to the motion blur and it worked beautiful, even if only one of my legs remained in focus.

DSC_3712 DSC_3713 DSC_3714 DSC_3715 DSC_3716 DSC_3717 DSC_3718 DSC_3719 DSC_3720 DSC_3710 DSC_3711

The photos where taken by Adam, while I was the subject (Again). I walked throughout the photos because asthma and cold weather don’t mix. The ones that are blurred are the ones which works while with the others is because I wasn’t walking quick enough.

Aperture (No portal jokes here)

The aperture is in charge of how much light can go through the leans, from your chosen size. It can be located in the leans and it works similar to your own iris. If you want more light in the photo, you set the aperture to a low number and get a larger hole. If you want less light in the photos, you set the aperture to a high number to get a smaller hole. So remember; The higher the number, the smaller the hole and less light in the photo.

aperture

image006

Depth of field can be created through the aperture, it is when the focus of the camera is on one part of the photo while everywhere else is blurred. To create a shallow depth of field

If you can remember, help yourself.

(I know, I lied)

Portraiture

Portrait is when your sujbect of the photograph is a person, instead of a landscape or object. it can be hard to get the photo to look right as the person could uncomfortable, the photo could come out bad or everything is wrong and you just want to throw it into a fire then watch in joy as it burns into a pile of ash, or is that just me? Anyway, there are a few tips that you can do to make it look better.

  • The amount of ISO in the photo can change it completely, ISO could be too high that you can’t see them or too low that you’ve turned into a low detailed snow white and still can’t see them.
  • Set it to a low F number.
  • Use a low depth of field so there ain’t anything in the background that can take focus away from the subject.
  • Keep the camera’s focus on the eyes, the subject should be looking at camera to make it a portrait. The eyes should be the most detailed part of the photo, as it’s normally the first thing you notice about a person is their eyes (Unless you’re me and the first thing I notice is their shoes)
  •  Play with the composition of the subject. You could apply the rules of thirds into the photo. The rule of thirds is when the subject or main focus fit in one of the three sections of the photo and take up all the space. Also changing your angle can also create an impact, like doing a high angle and getting the subject to look up.

IMG_6004 IMG_5997 IMG_6003IMG_5993

IMG_5994

IMG_6008